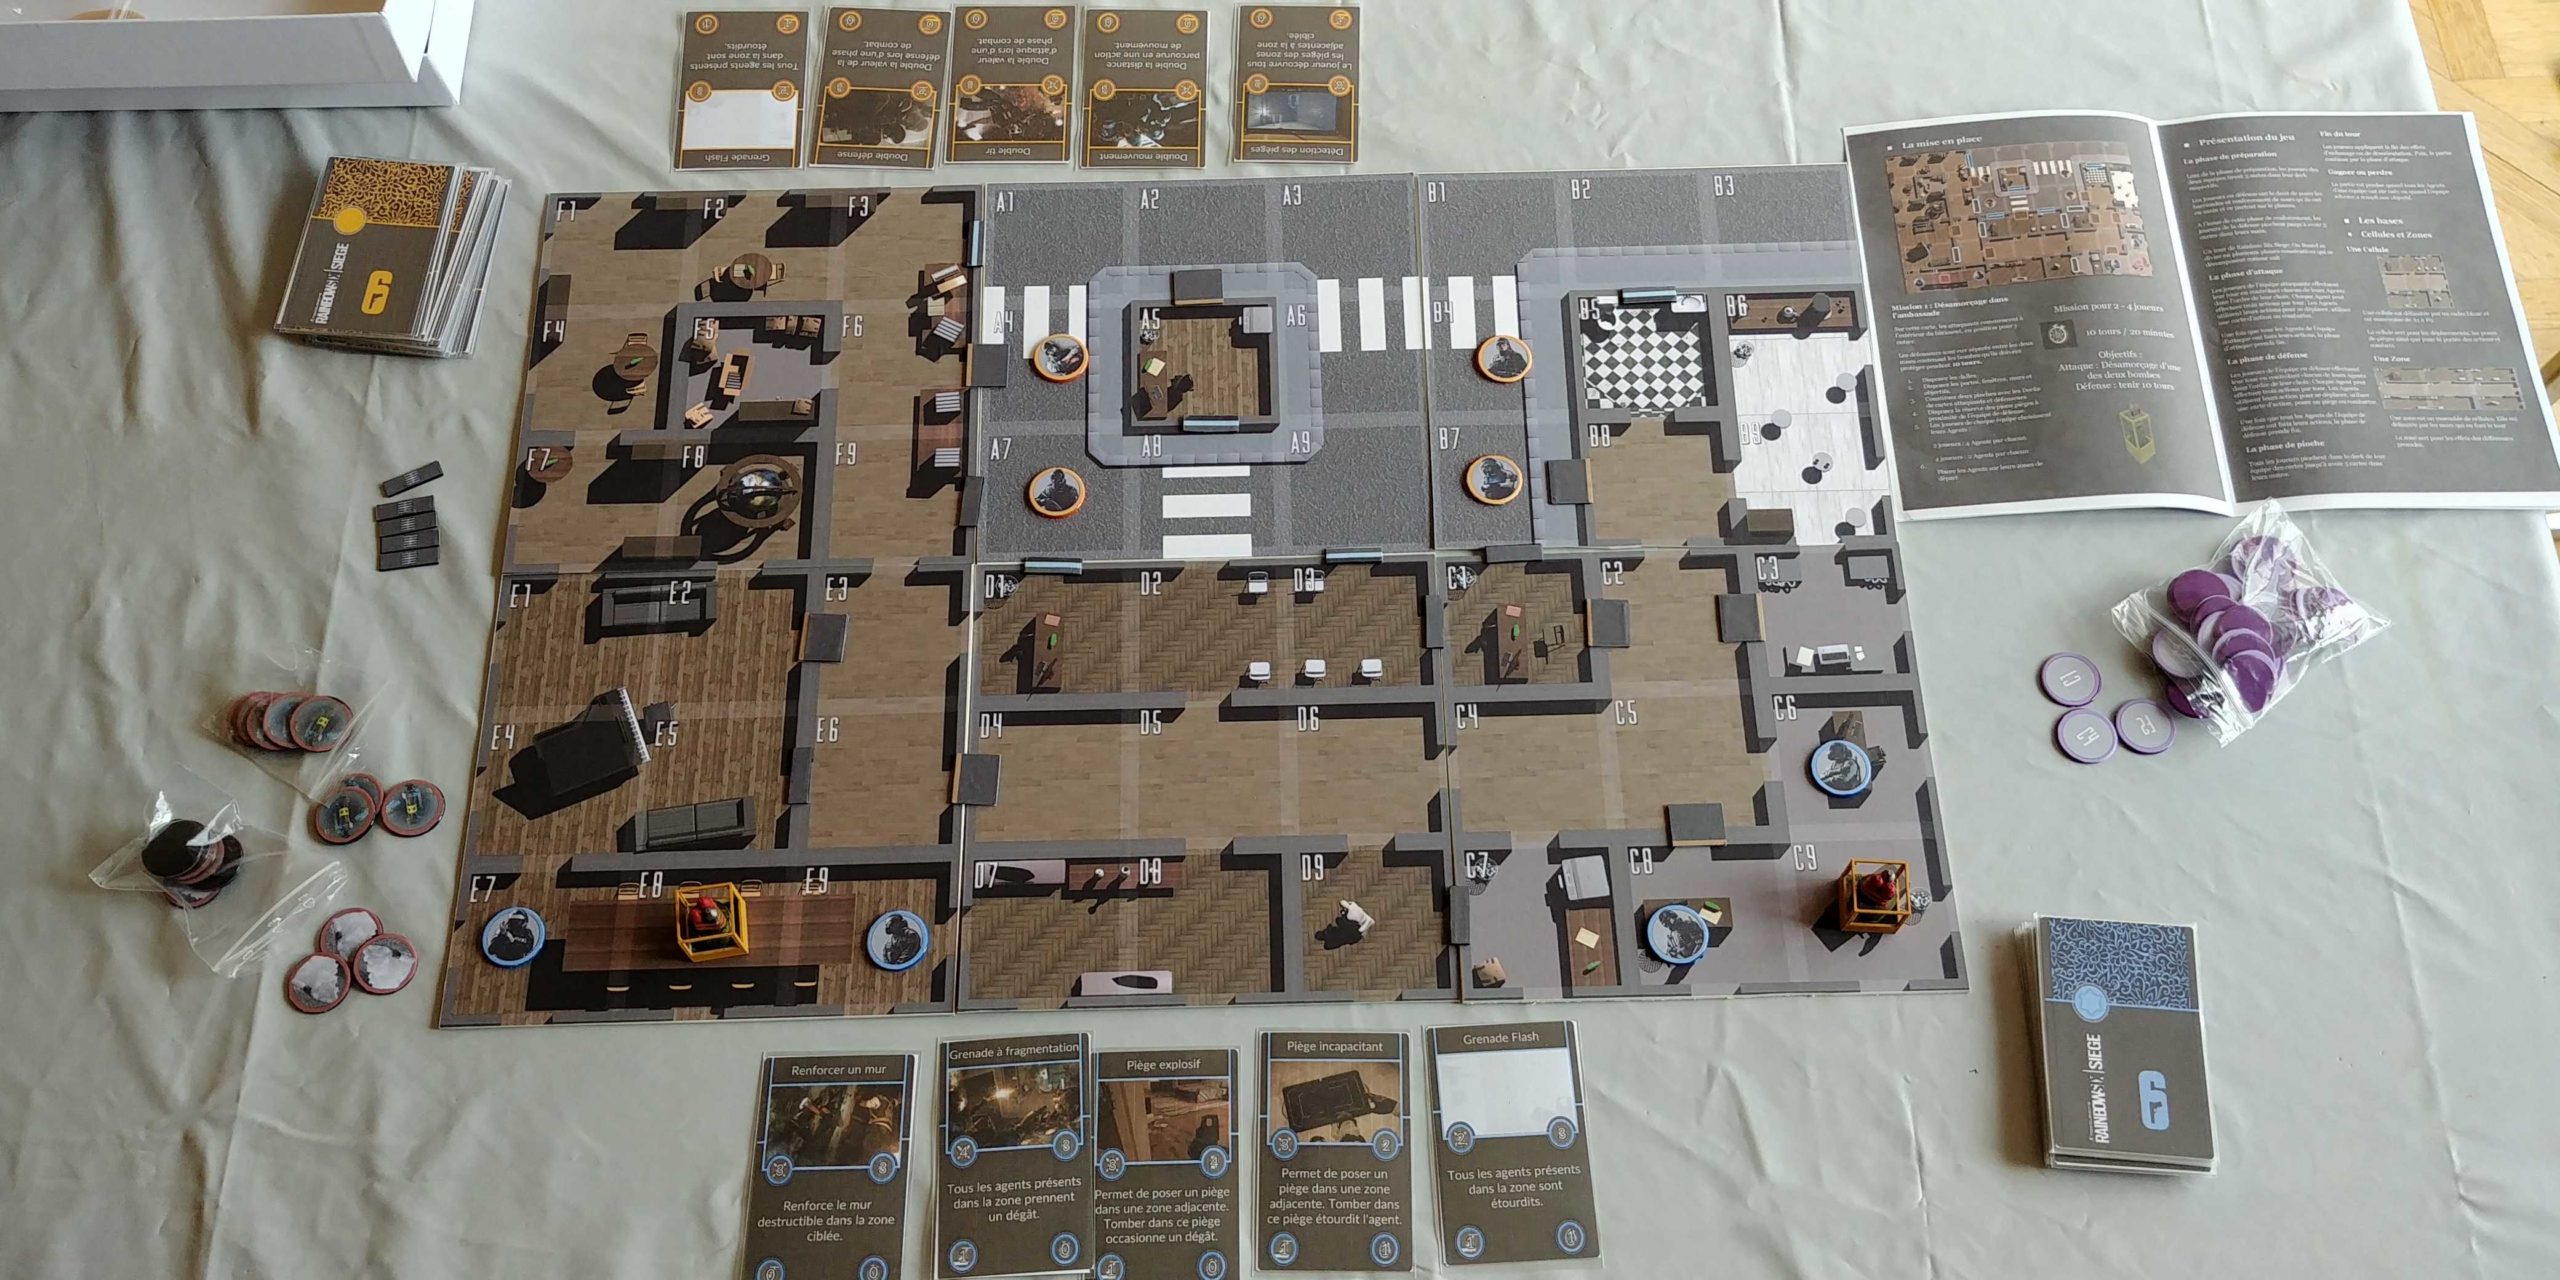
Board Game – Rainbow Six Siege: On board – Prototype making of
In my previous Game Design article about Lost in the woods : this is your story , I explained my creation process on the design point of view without spending too much time on prototyping.
Here I will focus on the prototyping phase of Game Design with the Rainbow Six Siege: On Board project.
Prototyping phases
I followed those phases:
1- Scratch prototype – Quick and dirty
2- Close friend and family playtests and gameplay refinements
3- Advanced prototype – Playable with strangers
4- Extended public playtesting and gameplay refinements
5- Rules finalization and numeric prototype
I will show my process for all those phases.
Scratch prototype – Quick and dirty
This phase is meant to try out your design idea quickly and with the less cost possible.
I used standard pen,papers and white board for custom parts.
To speed up the process I used everything I could get for “free” by getting parts of my board games that can suits my needs.
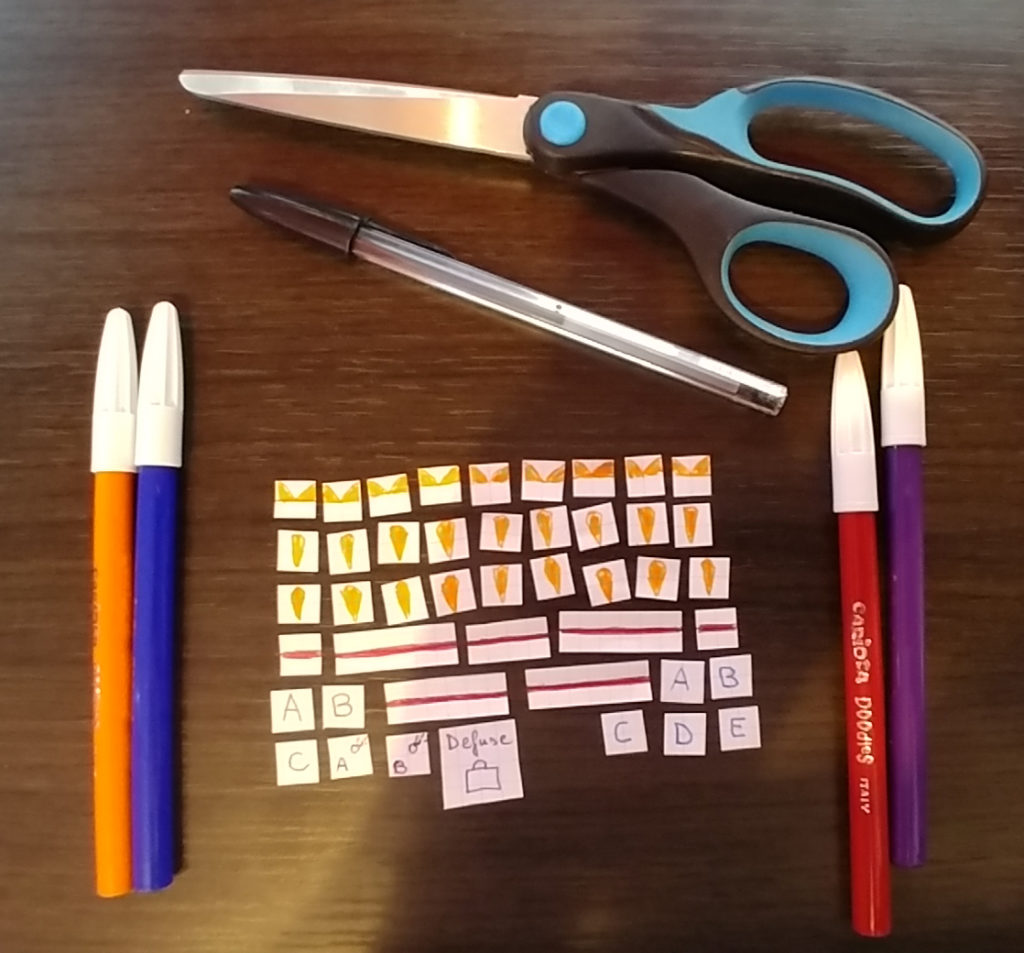
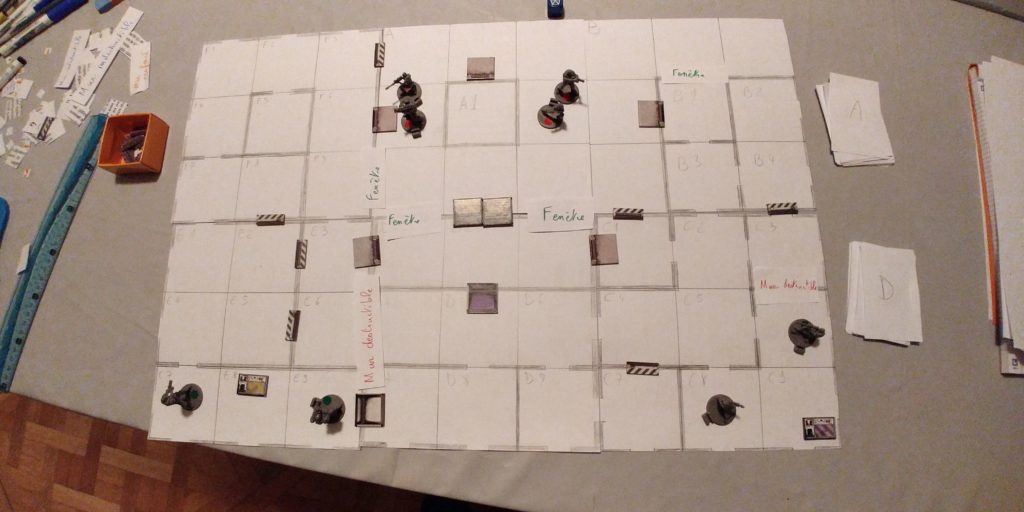
I made 3 revisions of the board and tokens while playtesting.
Close friend and family playtests and gameplay refinements
I used pre-made surveys to maximize playtests efficiency.
I made a first draft with many questions to asses if the game was on the good path to follow my intents.
The game was playtested a total of 10 times and got a lot of modifications before going to the next phase: the advanced prototype.
Modifications included:
– adjusting battle attack and defense numeric values
– changing grenades effects
– adding the concept of “cells” to cut rooms in smaller parts to navigate
– making any wall destructible
Advanced prototype – Playable with strangers
Next step is to expend the number and type of testers for the game.
Using a game made of hand-written paper is hard to play with strangers. So it’s useful to make a prototype that is prettier !
I used specialized tools to make my game props:
– Houdini for the Board and the bombs
– Photoshop for the Board and the tokens
– Card creator for the cards layout
– Cura for 3D printing
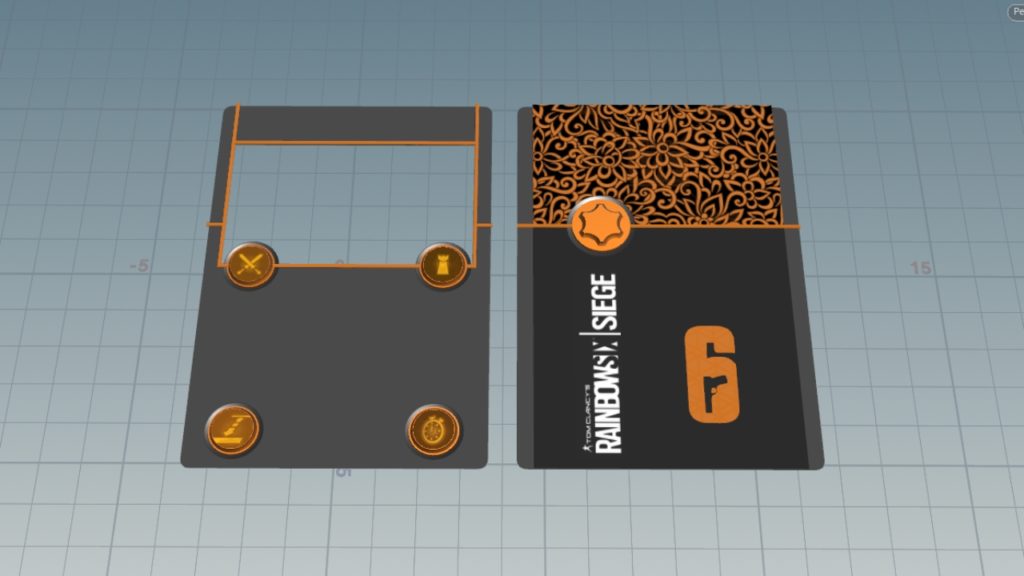
I used Houdini to make my board as I’m far better at using this software than Photoshop. Iterations are so quicker due to the procedural nature of Houdini !
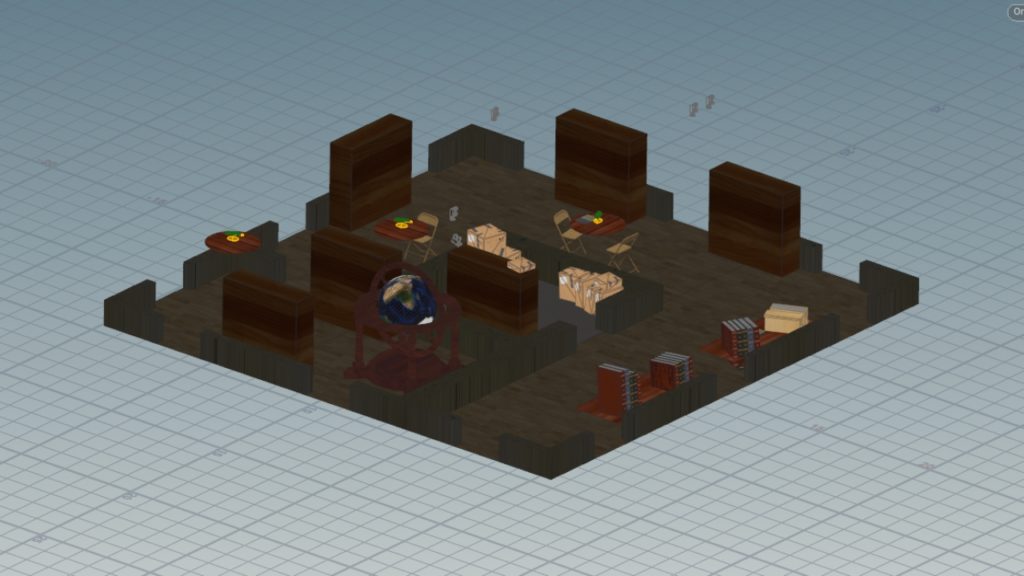
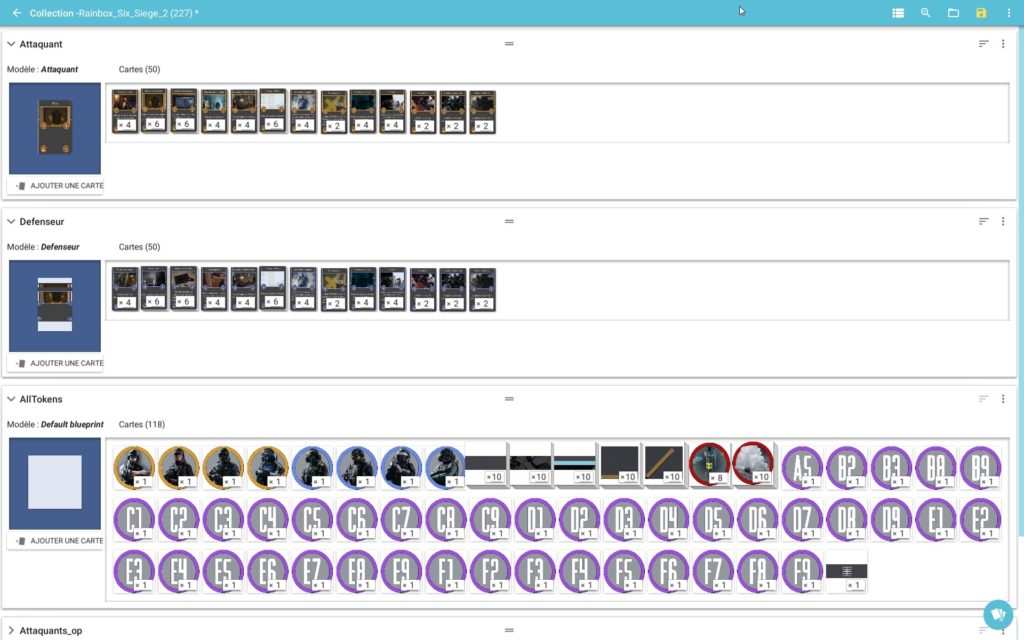
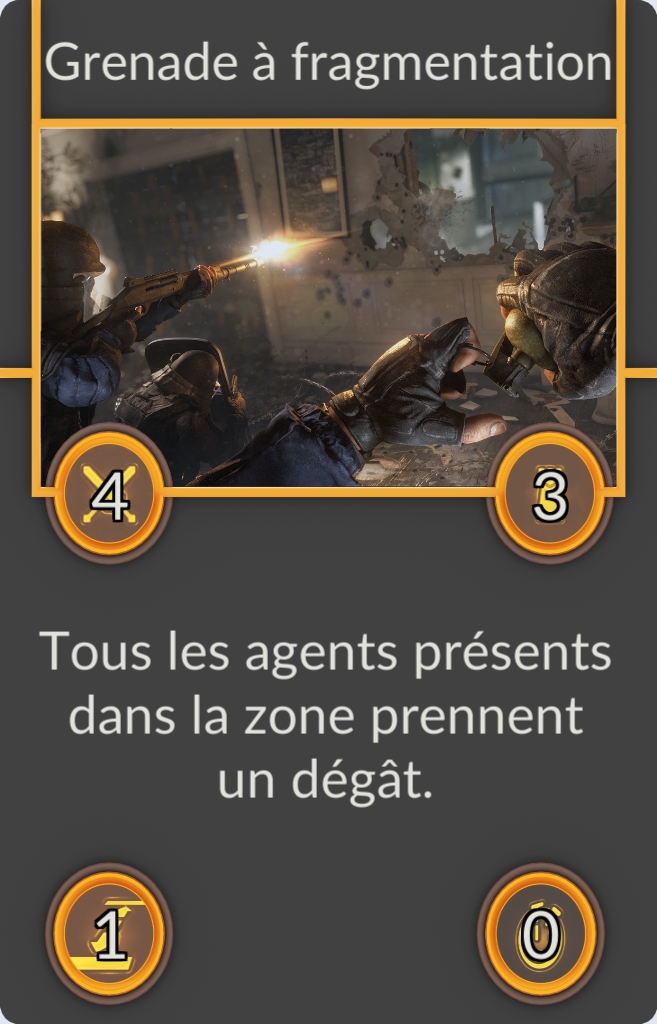
For the cards, I started by using Houdini (for the same reason as the board). Content was added within Card Creator.
All the cards and token images are taken from the game or the official Rainbow Six Siege website.
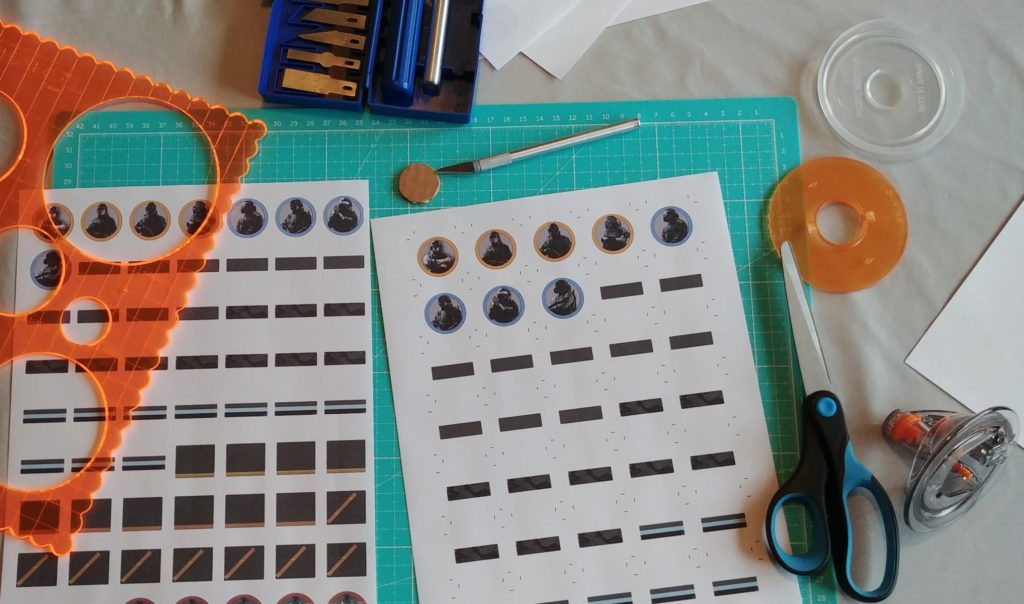
Hardware-wise, I used :
– 80g and 250g paper
– ink-jet printer
– cardboards
– cutting gear
– 3D printer: Ender 3
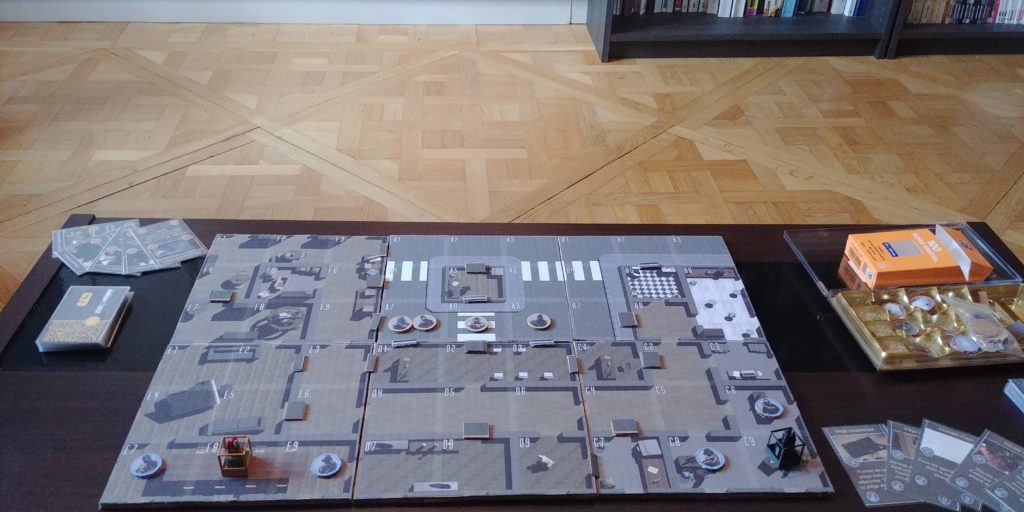
Assembly was done with shipment cardboard and self adhesive printer paper.
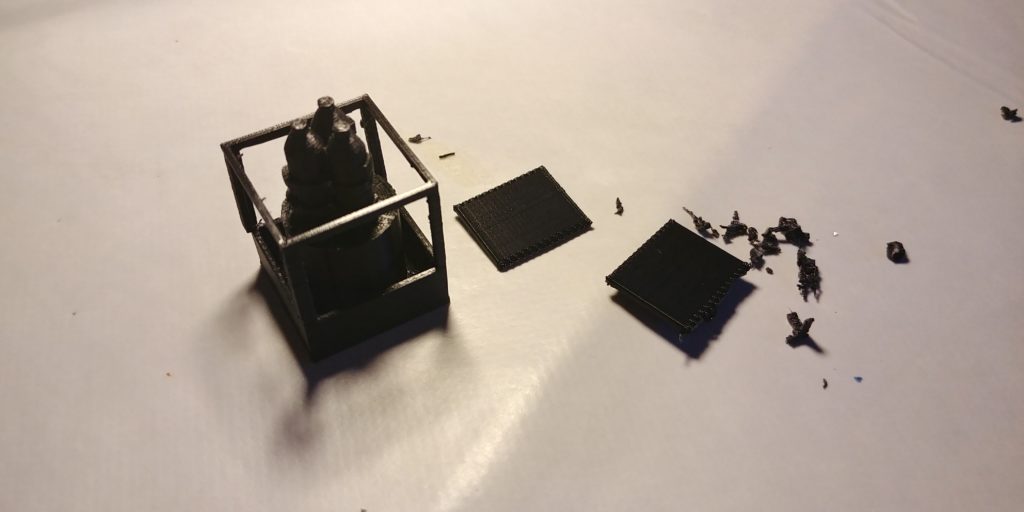
The bombs were 3D printed and hand painted.
After putting the cards into sleeves, everything is ready to use !
Extended public playtesting and gameplay refinements
With an advanced prototype, you can lure the player to test your game with less efforts than with scratch prototypes. As I put my little 3D printed bombs on the board I could see a few players come to ask me if they can try it out.
Playtesting with a public of regular board game gamers is something really enjoyable. Seeing their reactions to some aspects of the game, the way they try out creative solutions to win, is at the same time terrifying and thrilling !
For this public I didn’t used any survey, only raw observations.
As they played under my watch they tended to ask me questions more than looking in the rulebook. This allowed me to see where my game is less obvious in term of gameplay.
Rules finalization and numeric prototype
To finish this awesome journey on the prototyping land, I finished to create the rule book and implemented the game into Tabletop Simulator as a Steam Workshop item.
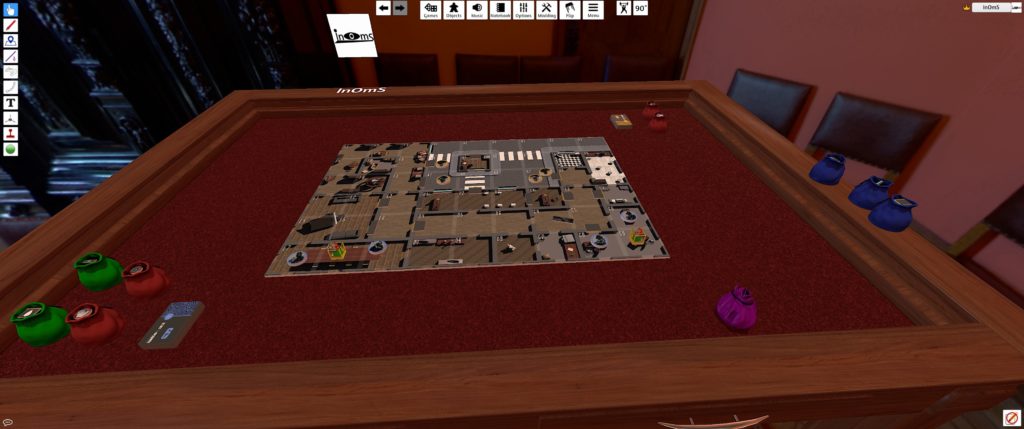
Now anyone possessing Tabletop Simulator can try this board game.
Check the presentation here !
If you try my game, I’ll be glad to hear your feedback !
What do you think?